Filled Onigiri (具入りおにぎり) — Japanese Rice Balls with Classic Fillings
Filled onigiri are hand-shaped Japanese rice balls packed with savory centers such as salted salmon, tuna mayonnaise, or seasoned bonito flakes. They are everyday home food, lunchbox staples, and picnic favorites.
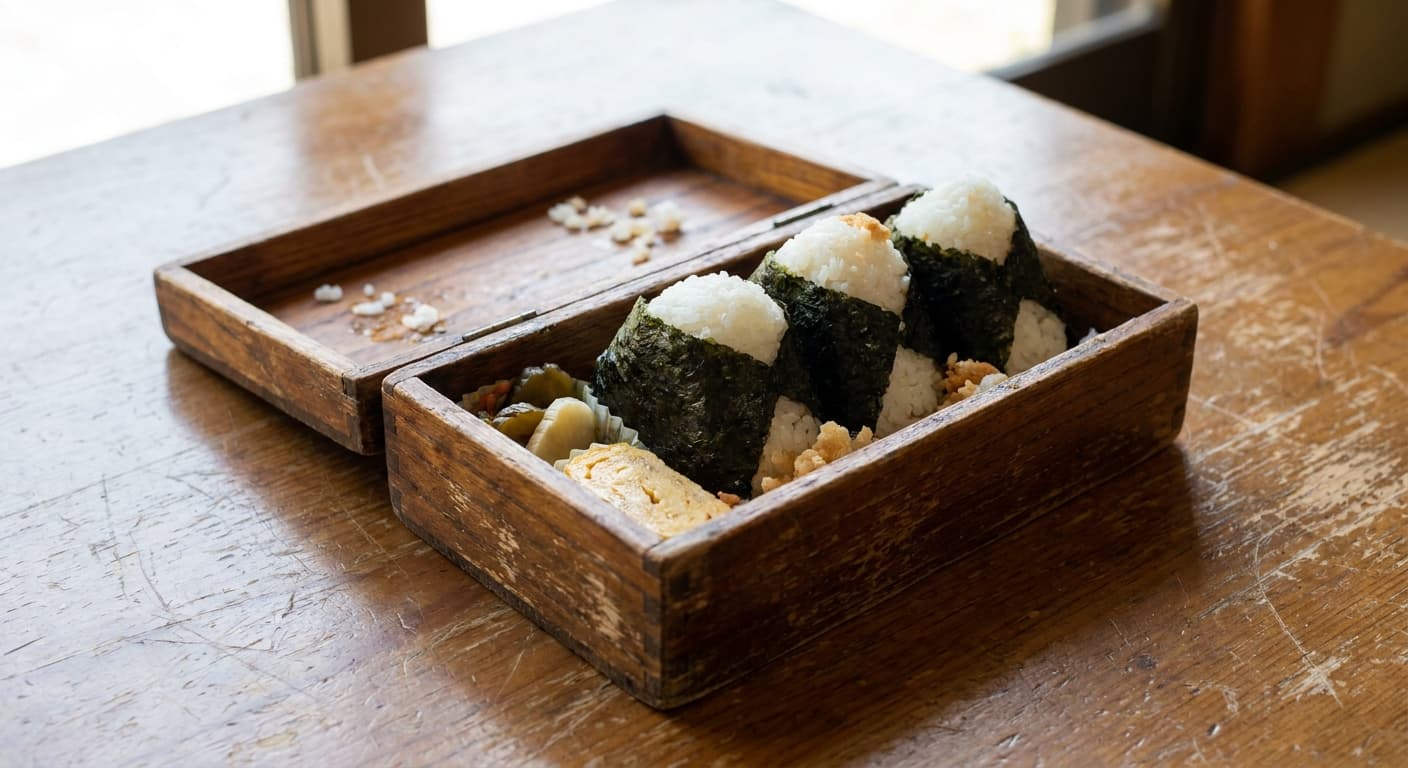
Printable Recipe Card
Servings: 6 · Total: 60 min · Difficulty: medium
Ingredients (quick list)
- 450 g Japanese short-grain white rice
- 540 ml water (for cooking the rice)
- 0.5 tsp fine sea salt
- 120 g salmon fillet (skinless if possible)
- 1 can canned tuna (drained, 120 g can)
- 2 tbsp Japanese mayonnaise
- 6 g katsuobushi bonito flakes
- 2 tsp Japanese soy sauce
- 3 sheet toasted nori (cut crosswise into 6 wide strips)
Steps (summary)
- Place the rice in a bowl and rinse it with cold water, swirling firmly with your hand, then drain immediately. Repeat 4 to 5 ti…
- Cook the drained rice with 540 ml water in a rice cooker using the standard white-rice setting. If using a saucepan, bring the…
- Season the salmon with 0.5 tsp fine sea salt and cook it under a broiler or in a small skillet over medium heat until just cook…
- For the tuna mayonnaise filling, mix the drained tuna with Japanese mayonnaise until the mixture is cohesive but not wet. For t…
- Fluff the hot rice gently with a rice paddle, cutting through the grains rather than mashing them. Let it cool only until it is…
- Dissolve 2 tsp fine sea salt in 120 ml water, then lightly wet both hands with this salted water. Place about 150 g warm rice i…
+ 2 more steps in the full instructions section below.
Cultural Background
Onigiri are among Japan's most familiar portable foods, made at home for school lunches, work meals, travel, and picnics. Their simple form reflects the Japanese emphasis on well-cooked rice and practical seasonal fillings.
Equipment
💡 Tips
- Use freshly cooked Japanese short-grain rice; long-grain rice will not cling properly and will fall apart.
- Keep the filling centered and fully enclosed so the rice ball stays neat during transport.
- Salted water on the hands seasons the outside, prevents sticking, and helps preserve the onigiri for short-term packing.
⚠️ Common Mistakes
❌ Using long-grain or dry leftover rice.
✅ Fix: Use freshly cooked Japanese short-grain rice while it is still warm so the grains cling without becoming pasty.
❌ Overfilling the center.
✅ Fix: Limit each filling portion to about 20 g and enclose it fully before shaping.
❌ Crushing the rice while shaping.
✅ Fix: Press with cupped hands just firmly enough to hold a triangle, turning the onigiri between gentle presses.
🧊 How to Store
Onigiri are best eaten the day they are made. Store cooled rice balls wrapped individually in the refrigerator for up to 24 hours, then microwave briefly under a damp paper towel and add fresh nori after reheating.
📅 Make Ahead
Cook and flake the salmon, mix the tuna mayonnaise, and prepare the okaka filling up to 1 day ahead. Cook the rice and shape the onigiri on the day of serving for the best texture.
🍽️ Pairs Well With
- Miso soup
- tamagoyaki
- cucumber pickles
- steamed edamame
- green tea.
Regional Variations
- Grilled onigiri are brushed with soy sauce or miso and toasted until the outside is crisp.
- Hokkaido-style versions often feature salmon, salmon roe, or butter-seasoned seafood fillings.
- Convenience-store style onigiri are wrapped so the nori stays separate from the rice until opened.
Ingredients
- 450 gJapanese short-grain white rice
- 540 mlwater (for cooking the rice)
- 0.5 tspfine sea salt
- 120 gsalmon fillet (skinless if possible)
- 1 cancanned tuna (drained, 120 g can)
- 2 tbspJapanese mayonnaise
- 6 gkatsuobushi bonito flakes
- 2 tspJapanese soy sauce
- 3 sheettoasted nori (cut crosswise into 6 wide strips)
🔄 Substitutions
- salmon fillet→ canned salmon
- Japanese soy sauce→ gluten-free tamari
- Japanese mayonnaise→ regular mayonnaise mixed with 0.5 tsp rice vinegar
Instructions
- 1
Place the rice in a bowl and rinse it with cold water, swirling firmly with your hand, then drain immediately. Repeat 4 to 5 times until the water is much less cloudy, then drain the rice in a sieve for 20 minutes so the grains hydrate evenly.
- 2
Cook the drained rice with 540 ml water in a rice cooker using the standard white-rice setting. If using a saucepan, bring the rice and water to a boil, cover tightly, cook over low heat for 12 minutes, turn off the heat, and rest covered for 10 minutes.
- 3
Season the salmon with 0.5 tsp fine sea salt and cook it under a broiler or in a small skillet over medium heat until just cooked through, about 6 to 8 minutes depending on thickness. Cool slightly, remove any skin or pin bones, and flake the fish into small moist pieces.
- 4
For the tuna mayonnaise filling, mix the drained tuna with Japanese mayonnaise until the mixture is cohesive but not wet. For the okaka filling, toss the katsuobushi bonito flakes with the soy sauce until the flakes are evenly seasoned and slightly glossy.
- 5
Fluff the hot rice gently with a rice paddle, cutting through the grains rather than mashing them. Let it cool only until it is comfortable to handle, because onigiri shape best while the rice is still warm and slightly tacky.
- 6
Dissolve 2 tsp fine sea salt in 120 ml water, then lightly wet both hands with this salted water. Place about 150 g warm rice in one palm, make a shallow hollow, add about 20 g salmon, tuna mayonnaise, or okaka filling, and cover the filling completely with rice.
- 7
Shape each filled portion into a triangle by pressing gently with cupped palms, turning the rice ball after each press. Use firm but light pressure, because squeezing too hard will crush the grains and make the onigiri dense instead of tender.
- 8
Wrap each onigiri with one strip of toasted nori just before serving so the seaweed keeps some crispness. If packing for a lunchbox, cool the rice balls fully first and wrap the nori separately until eating time.
🪪 Recipe Passport
Cultural Background
Onigiri are among Japan's most familiar portable foods, made at home for school lunches, work meals, travel, and picnics. Their simple form reflects the Japanese emphasis on well-cooked rice and practical seasonal fillings.
Regional Variations
Researched from multiple sources and validated by the Zaffaron editorial team. Every recipe is tested for accuracy, measurements, and cultural authenticity.
📚 Sources & Cultural References
- Elizabeth Andoh — Washoku: Recipes from the Japanese Home Kitchen — (2005)
- Shizuo Tsuji — Japanese Cooking: A Simple Art — (1980)
Sources cited by the Zaffaron editorial team during recipe research. Cultural and culinary references supporting authenticity claims.
Nutrition per serving
Pairs well with
If you enjoyed this recipe, here are a few related Zaffaron recipes to try next.
Does your family make this differently?
Every family has their own version. Maybe your grandmother adds a secret ingredient, or your aunt has a completely different technique. Preserve your family's version — with their name on it, forever.
You Might Also Like
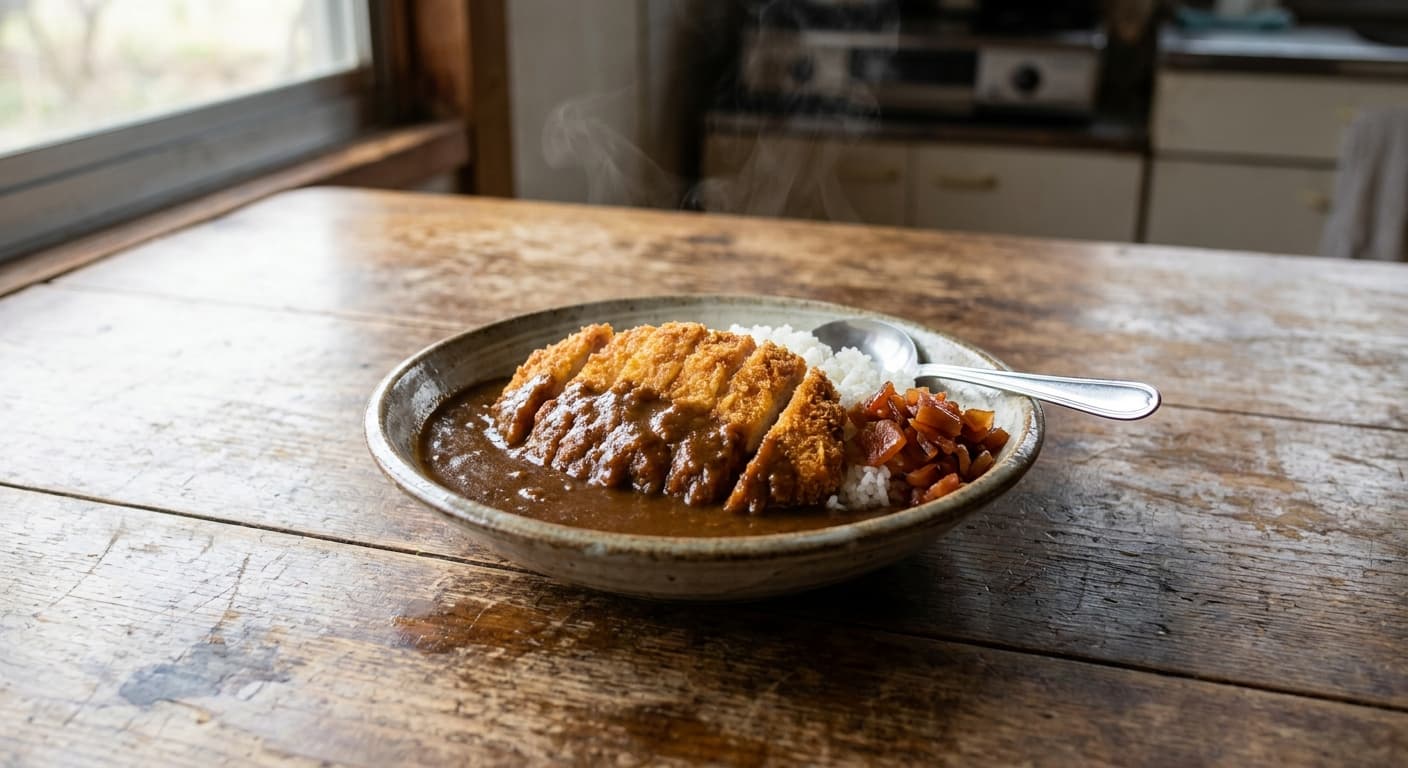
Japanese Chicken Katsu Curry (チキンカツカレー) — Crispy Cutlet with Rich Curry Rice
Japanese · Main Courses · 65 min
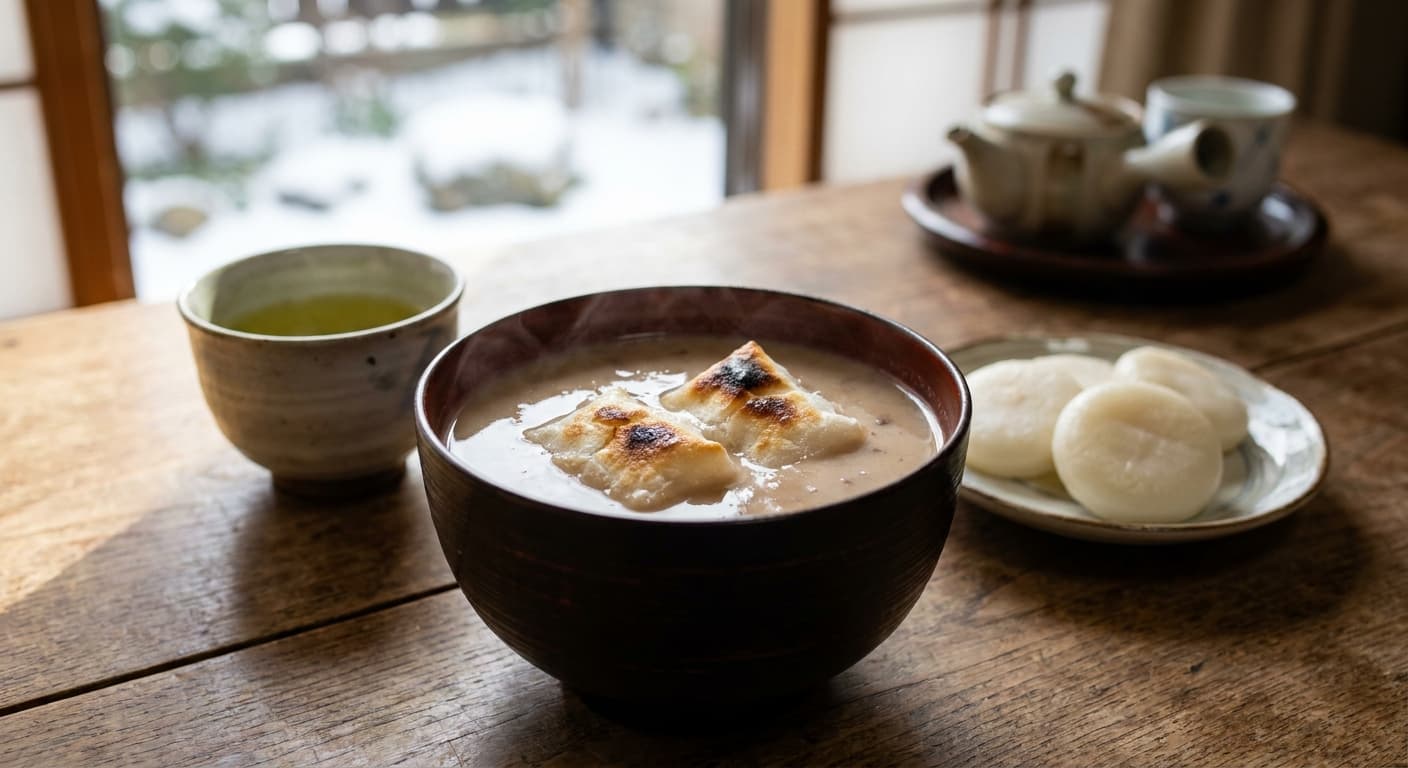
Kurumi Shiruko (くるみ汁粉) — Sendai-Style Sweet Walnut Azuki Soup with Mochi
Japanese · Desserts · 120 min
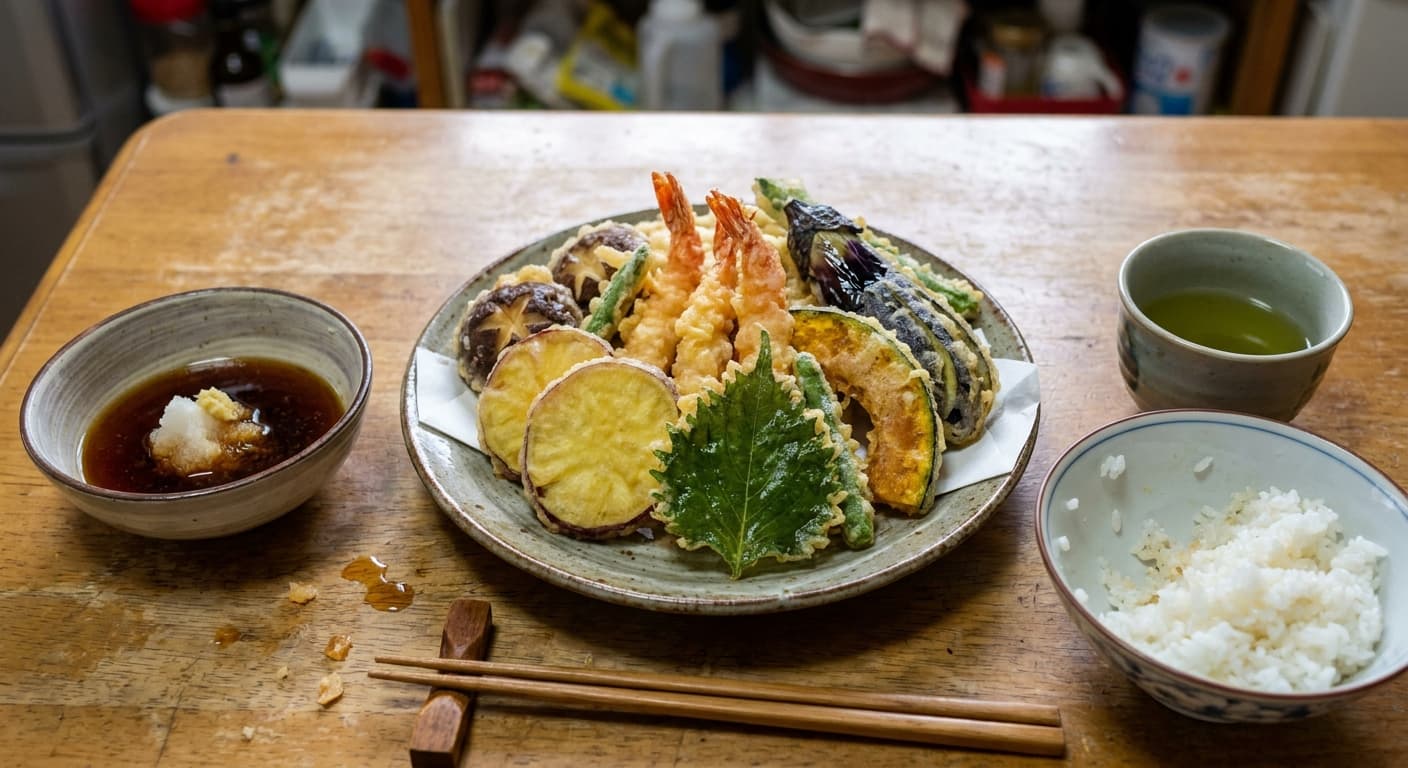
Tempura Moriawase (天ぷら盛り合わせ) — Assorted Shrimp and Vegetable Tempura
Japanese · Main Courses · 60 min
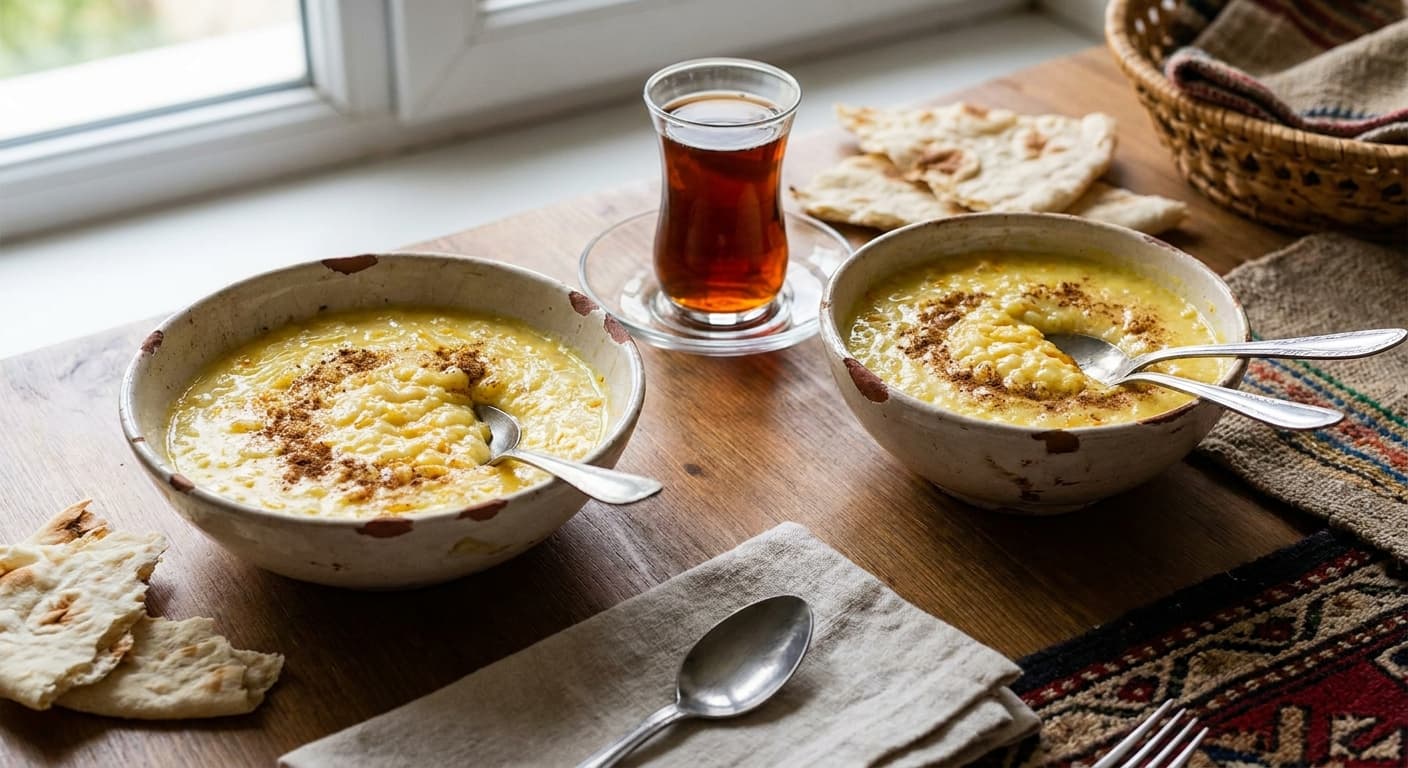
Azerbaijani Milk-Rice Porridge (Südlü Sıyıq) — Creamy Breakfast Rice with Saffron
Azerbaijani · Rice Dishes · 50 min
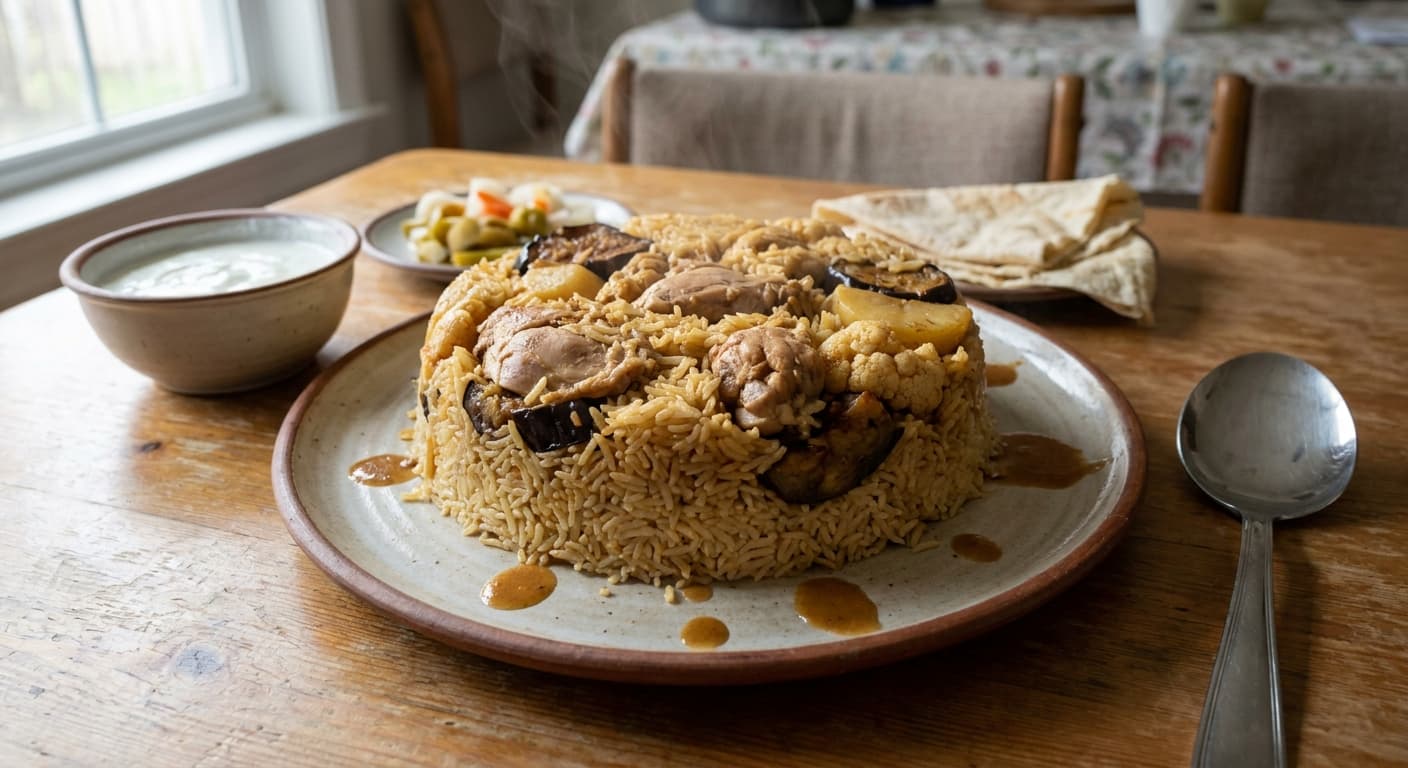
Maqluba (مقلوبة) — Jordanian Upside-Down Rice with Chicken
Jordanian · Rice Dishes · 110 min
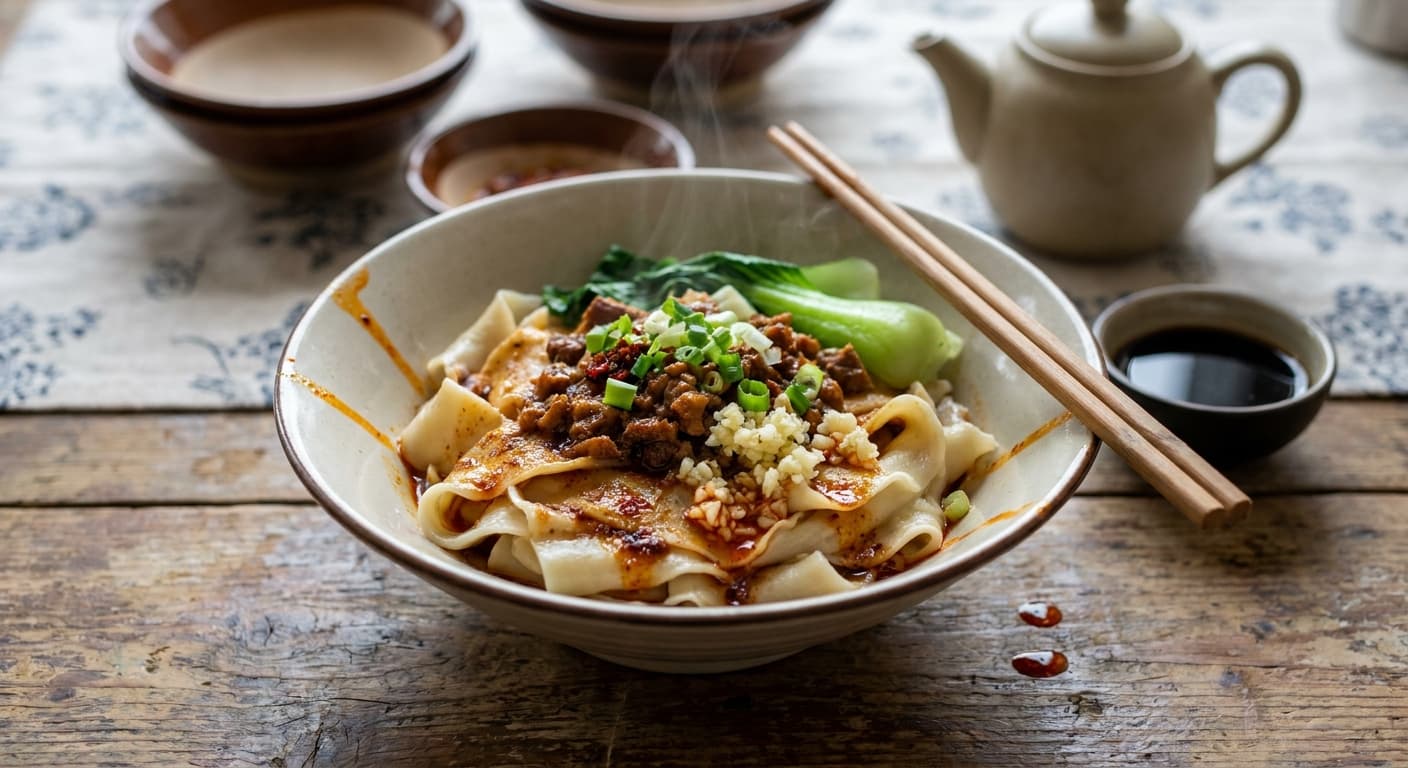
Biangbiang Noodles (油泼扯面) — Xi'an Hand-Pulled Belt Noodles
Chinese · Main Courses · 65 min
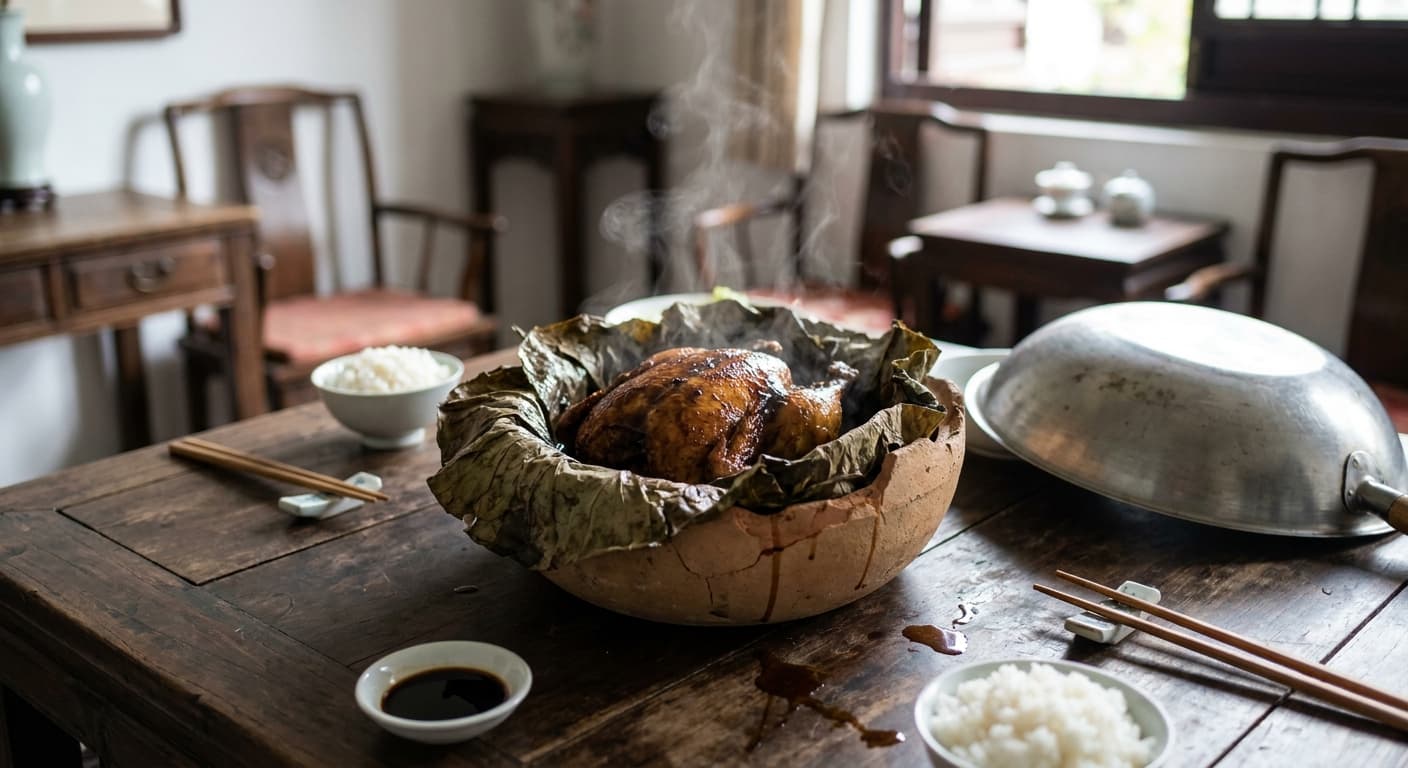
Beggar's Chicken (叫化鸡) — Lotus-Wrapped Clay-Baked Jiangnan Chicken
Chinese · Main Courses · 240 min
Japanese Karaage (唐揚げ) — Crisp Ginger-Soy Fried Chicken
Japanese · Main Courses · 38 min
Reviews
Cooked this recipe?
Tap the stars to rate it — that's all it takes. A few words are welcome but optional.
No ratings yet. Cooked this one? Be the first to rate it — it takes one tap.